Puff pastry

Makes 500g
Preparation time: 15 minutes
Resting time: 3 hours
Making puff pastry is not difficult, if you follow the processes. It is however extremely time consuming, even if most of that time is resting time in the fridge. Set aside a good 3 hours. The good thing is when it comes out of the oven you won’t believe how different it tastes to most shop bought.
Ingredients
300g strong bread flour plus extra for dusting
¼ tsp salt*
150g cold butter, cut into cubes plus a 200g block, very very cold
100ml milk or water
* If, like me, you favour Lurpak slightly salted then increase this to ½ tsp
Method
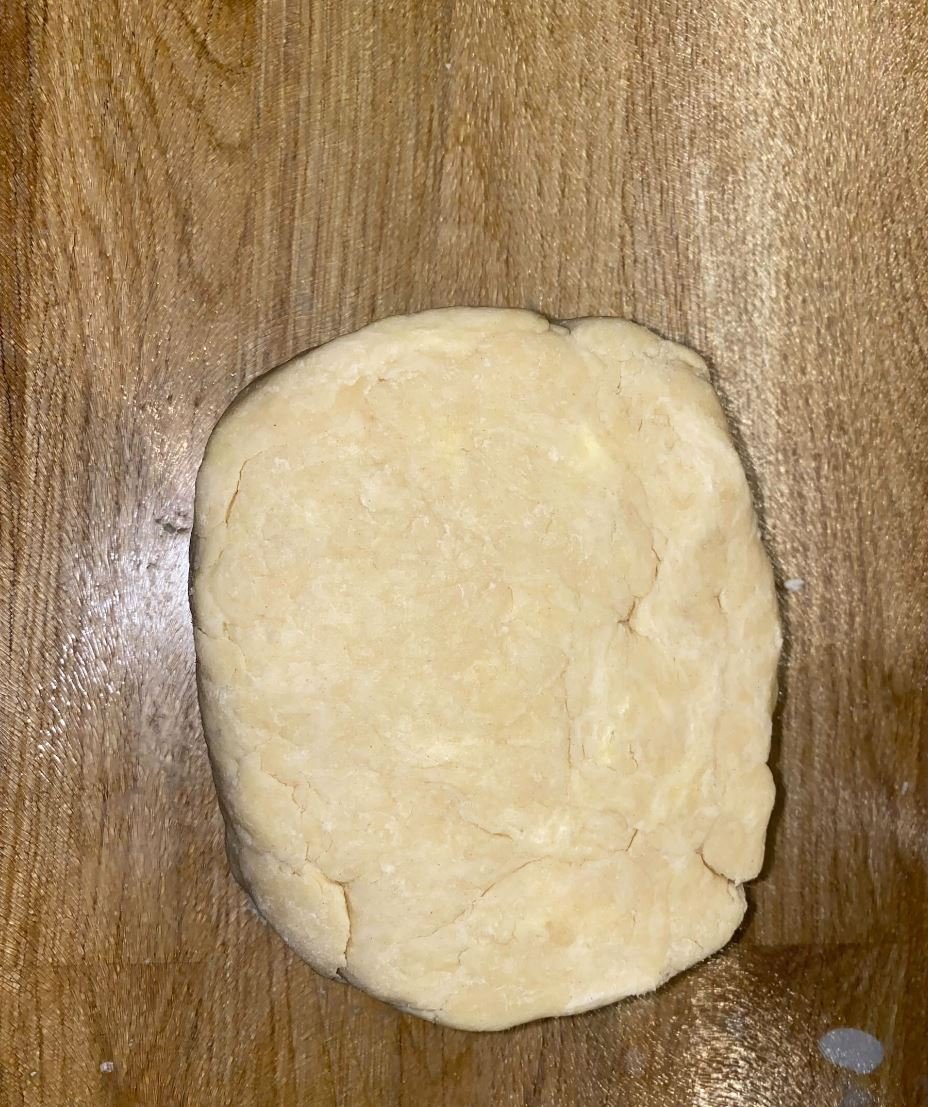
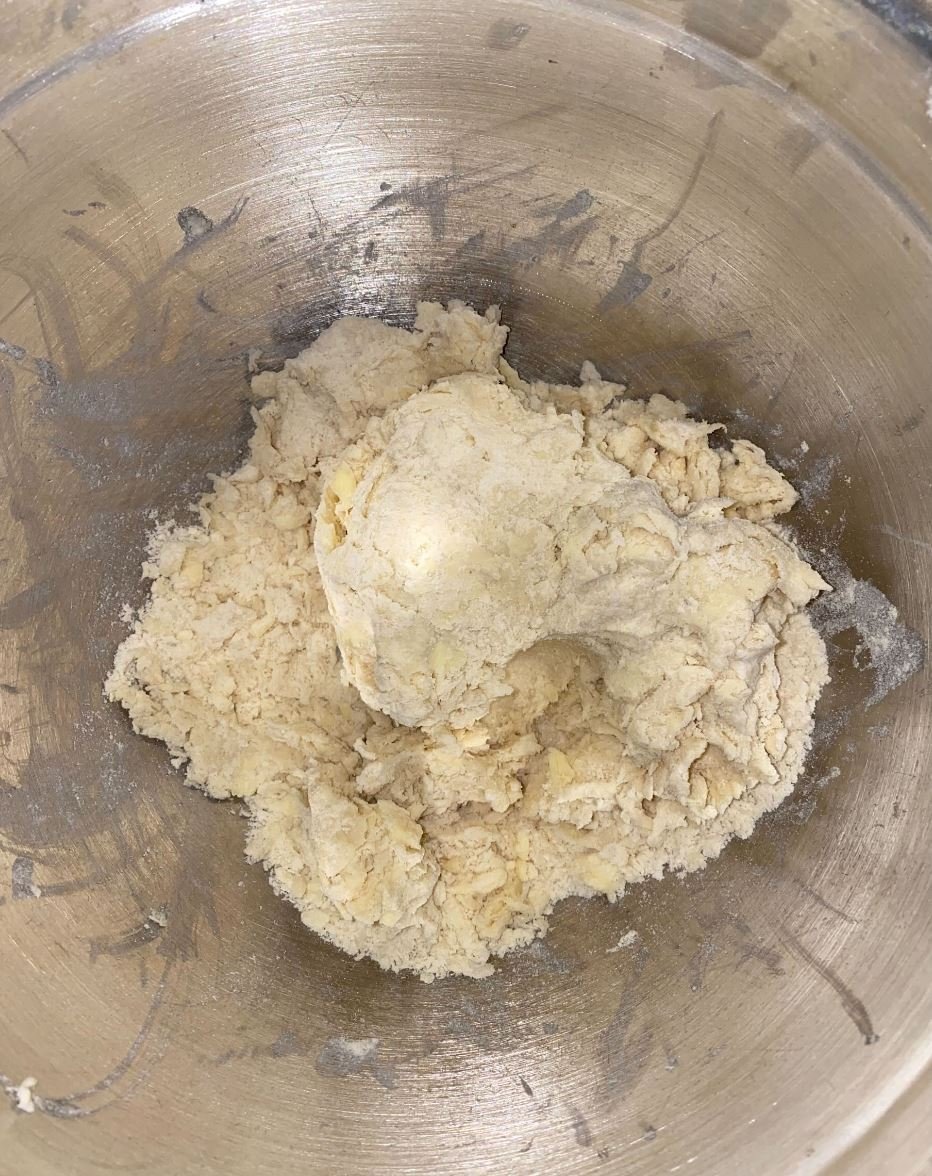
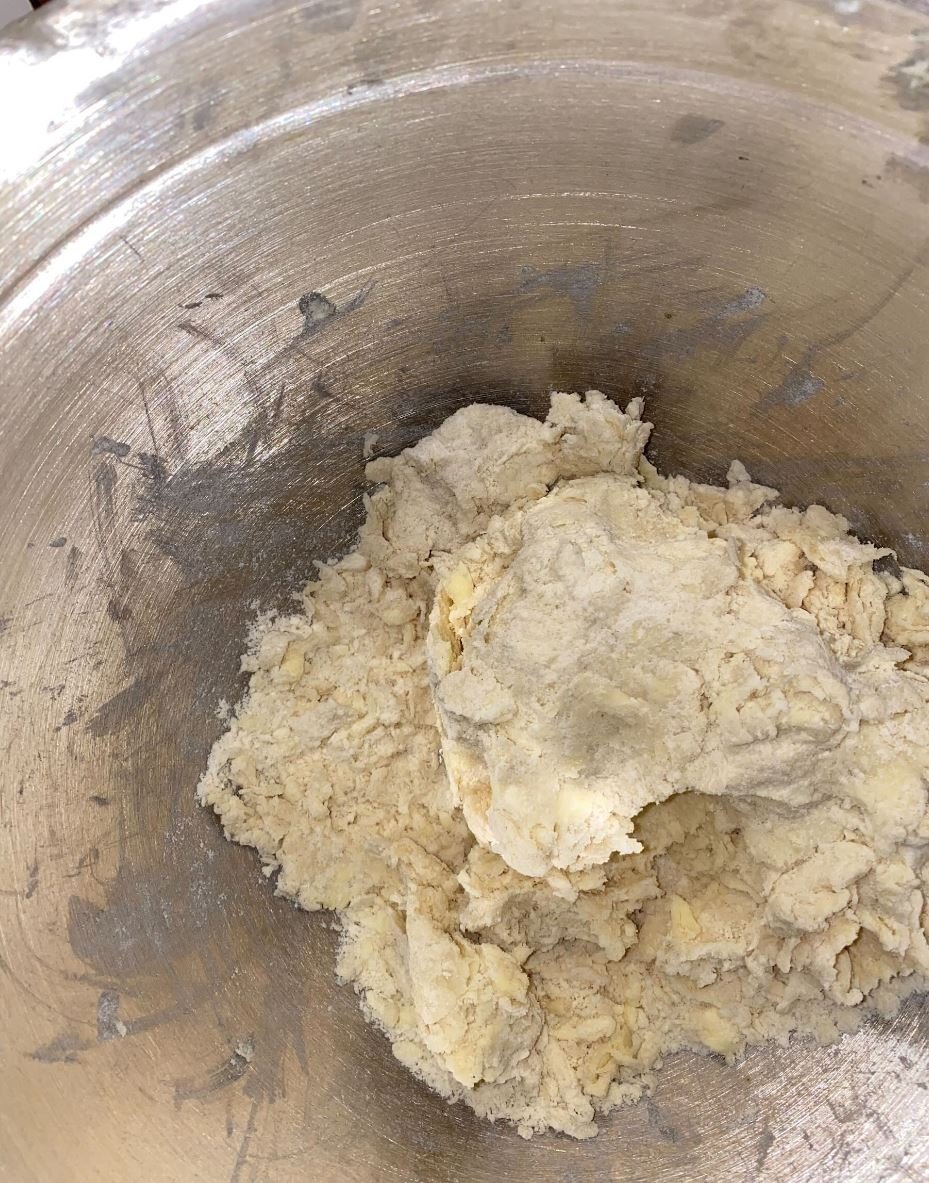
Put the flour and salt in a bowl and with your hands mix. Put the cold butter cubes into the flour and rub the butter into the flour using until the mixture resembles breadcrumbs. Use either a pastry blending tool or your fingers. If you use your fingers wash your hands in cold water so your fingers are cold, this will help the butter to not melt. Add 5 tbsps of the milk (or water) initially and start to form a dough. If the dough doesn’t come together fully then add an additional tbsp or so of the milk, 1 tbsp at a time. You want the dough to just come together and not be wet so it may well be you won’t need all of the milk or it may be you need an additional tbsp. On one of my test runs I used 115ml milk. With pastry different flours and temperatures mean the same recipe will need slightly different amounts of liquid. Form the dough into a rectangular block and wrap the block in cling film and refrigerate for 20 minutes.
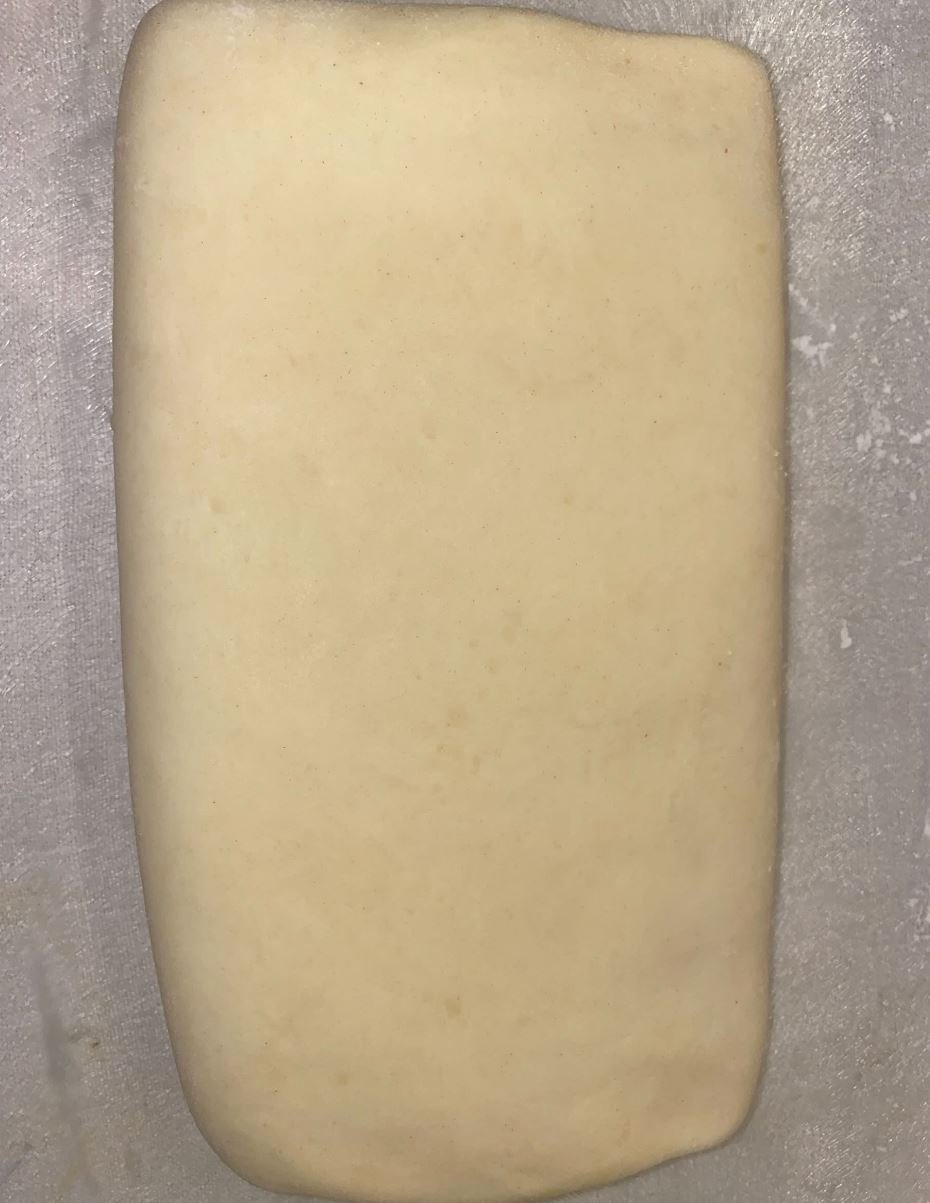
After 20 minutes, roll the dough out into a rectangle on a lightly floured work surface to a thickness of 1cm, all the while trying to keep the sides straight (ish) and the shape as a rectangle. How I achieve this is with my hands I push any areas that look like it is pushing it out of shape back into the main part of the pastry, then I lightly reroll over that area. If the bulge is say at the bottom, I would push it in with my hands so that the bottom line is straight and then would roll vertically. The length should be roughly 3 times the size of the width. Carefully without pressure fold the pastry into 3 so it fits easier into the fridge, cover in clingfilm and put into the fridge.
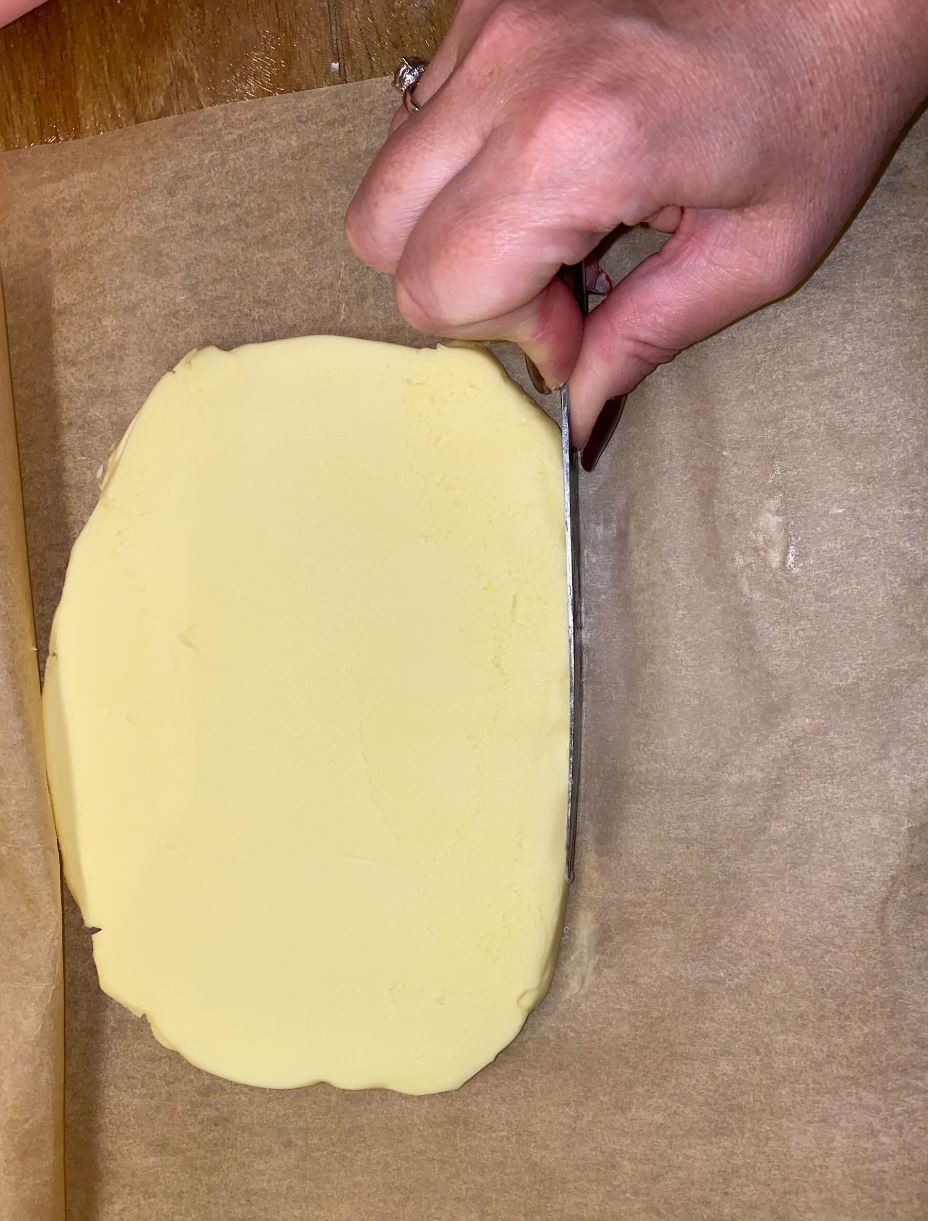
Place the 200g of cold butter between two sheets of greaseproof paper and bash it flat using a rolling pin to half the size of the pastry keeping it rectangular shaped. I find I need to bash a few times, lift the greaseproof, put the greaseproof back, turn it over and bash and shift the greaseproof and repeat until it is thinner where I can then roll between the greaseproof to the right size. I also use a knife to push against any bulges and keep this in a rectangle shape.This is not difficult but will require some effort as you need the butter to stay cold so need to bash while it is very cold.
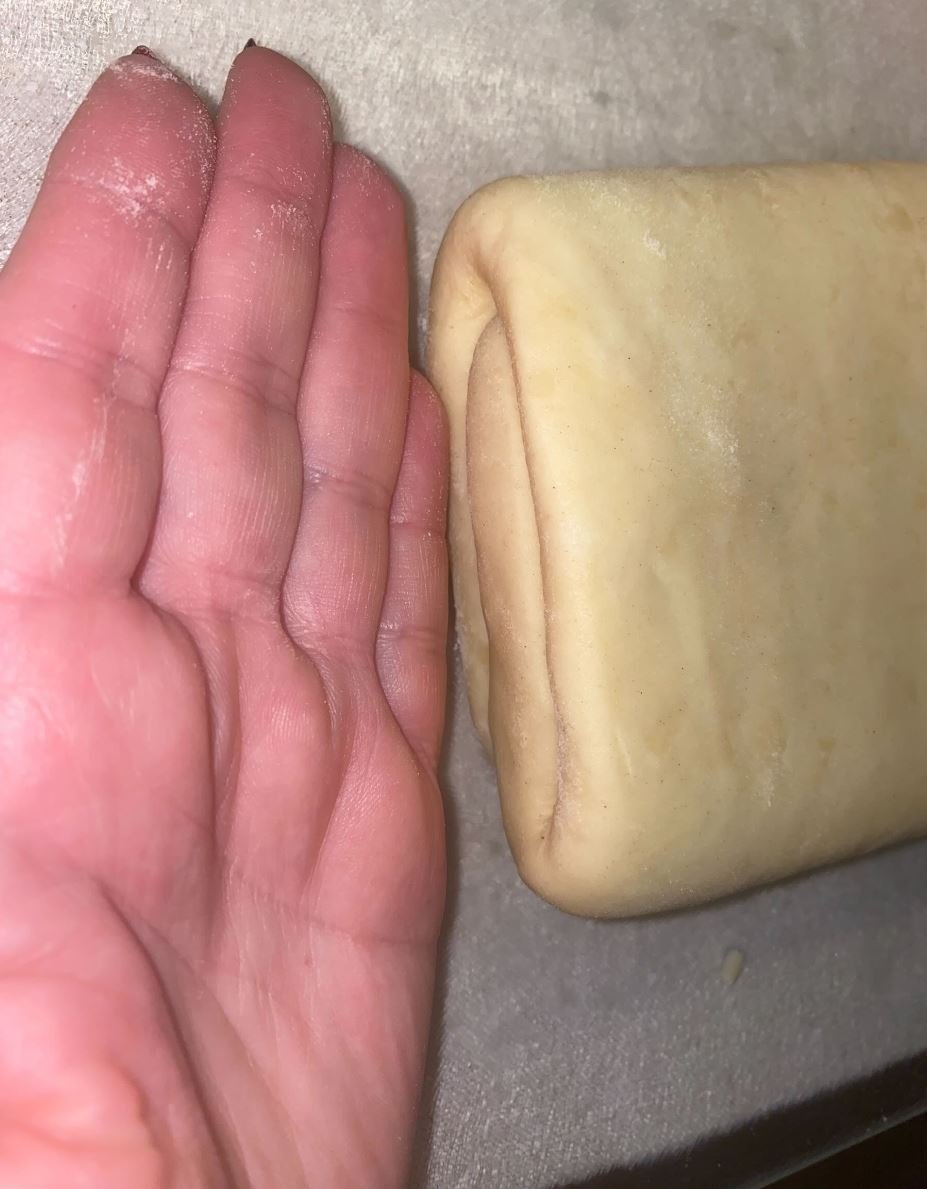
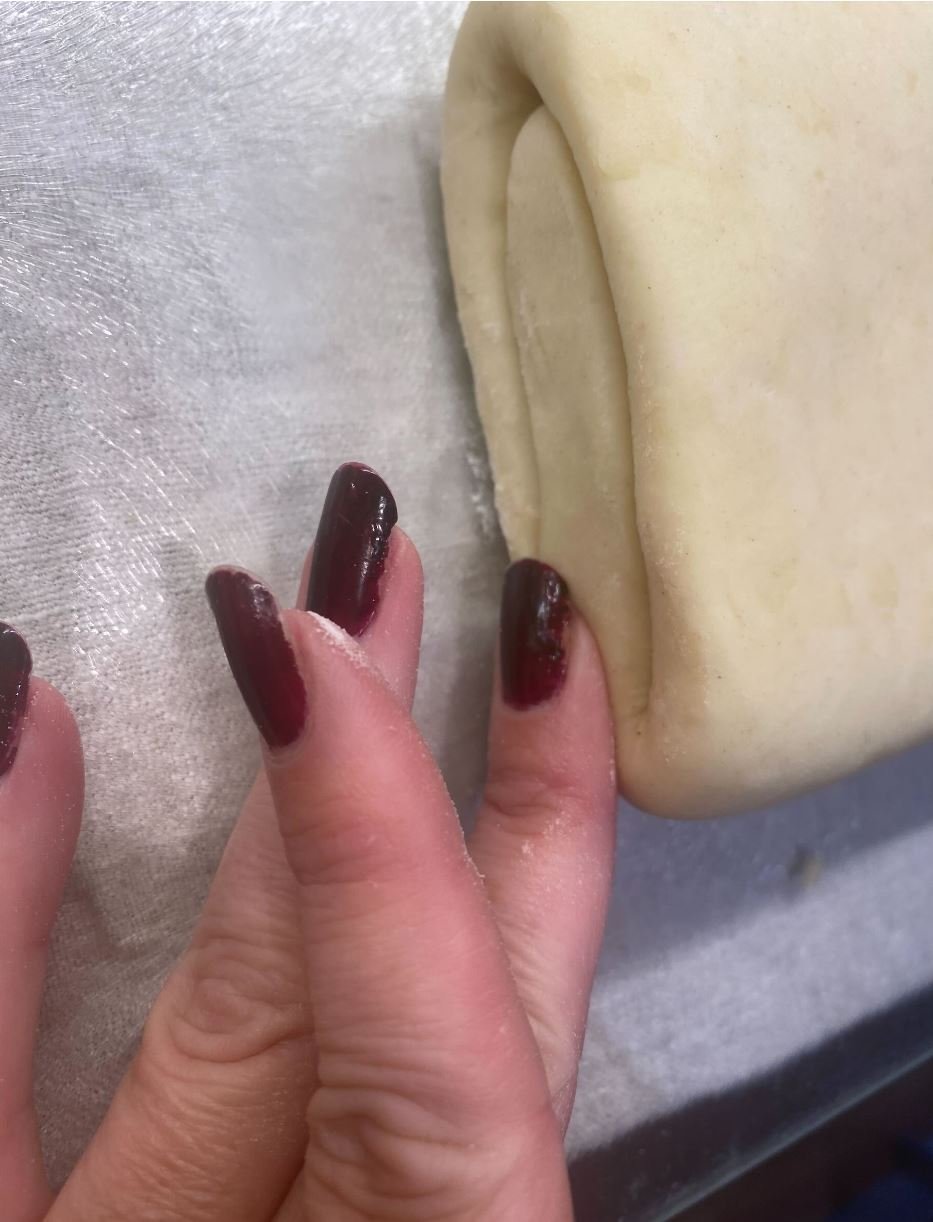
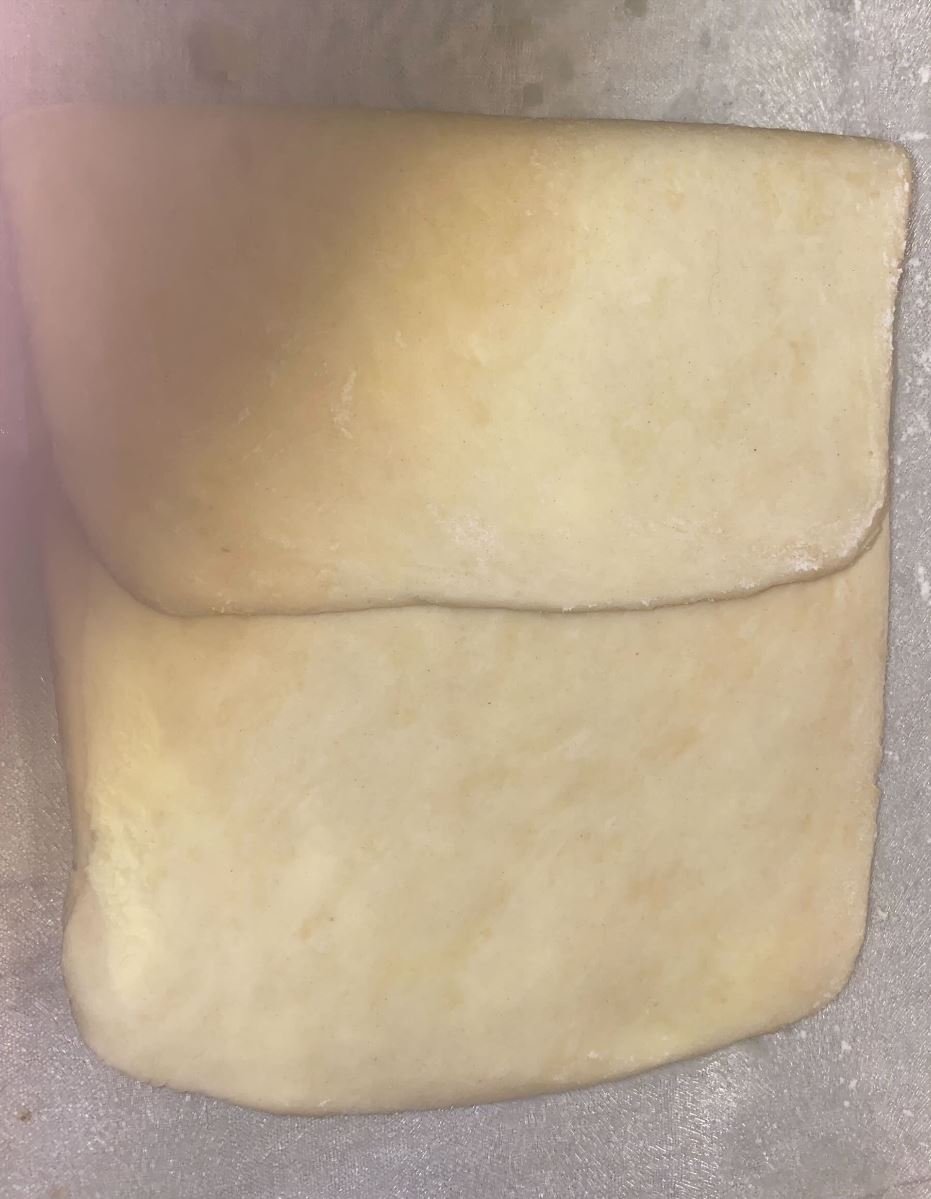
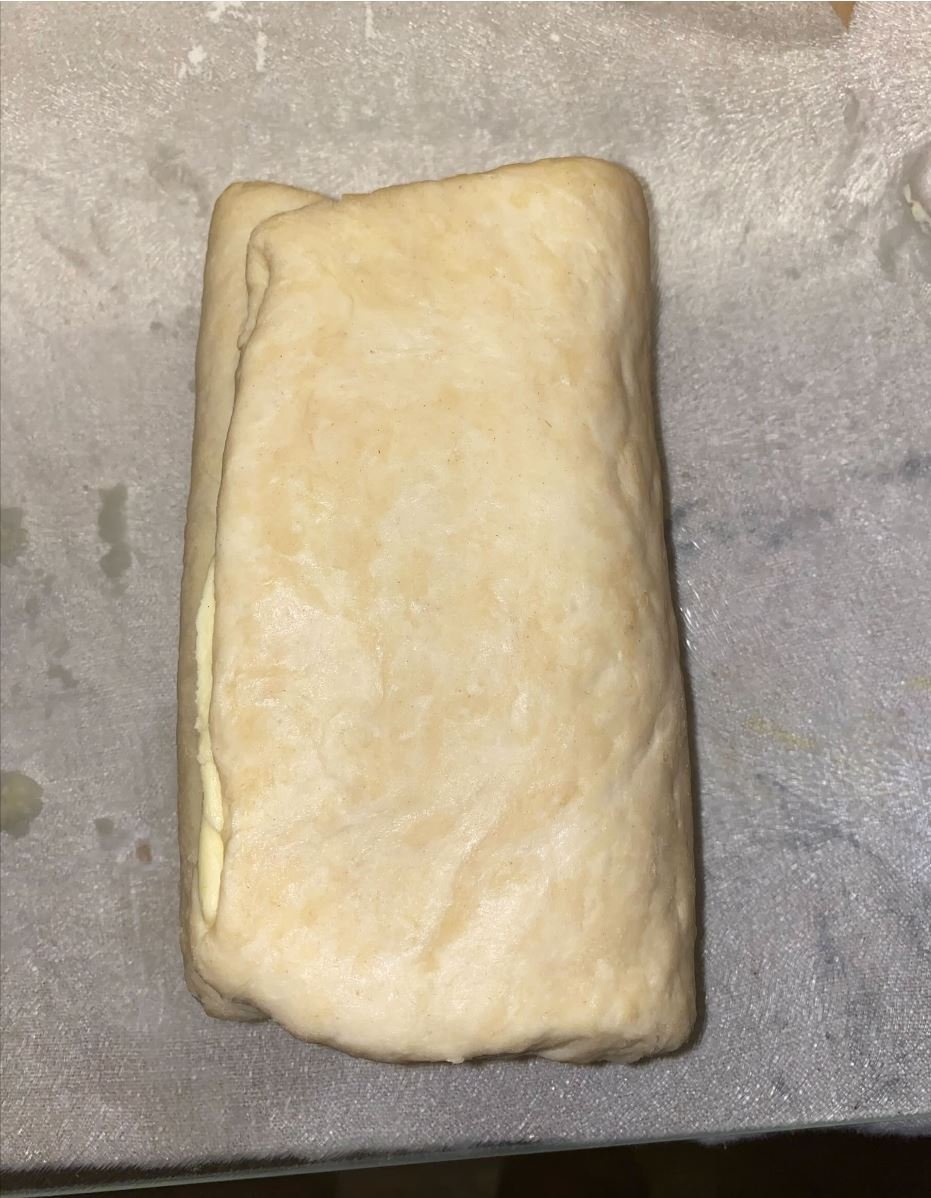
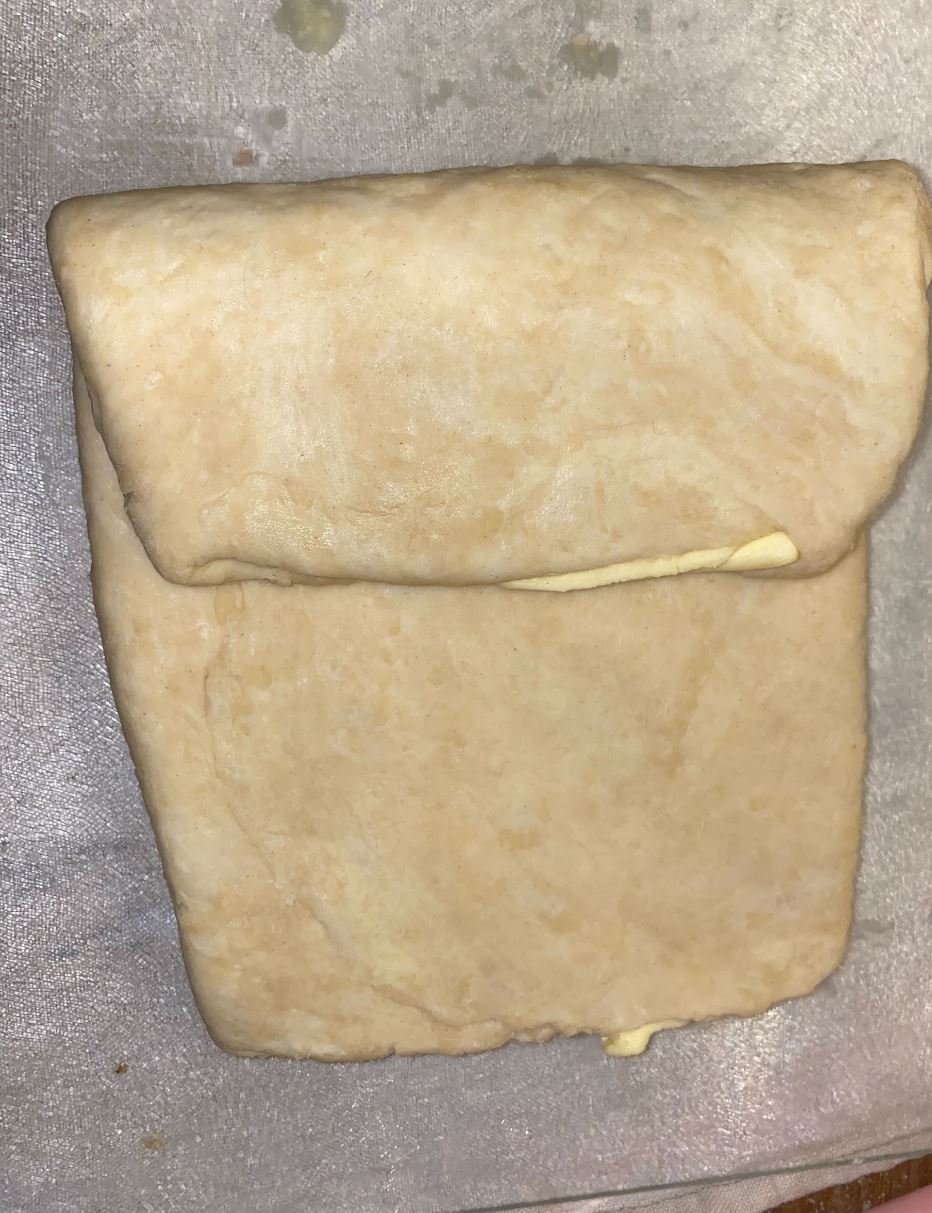
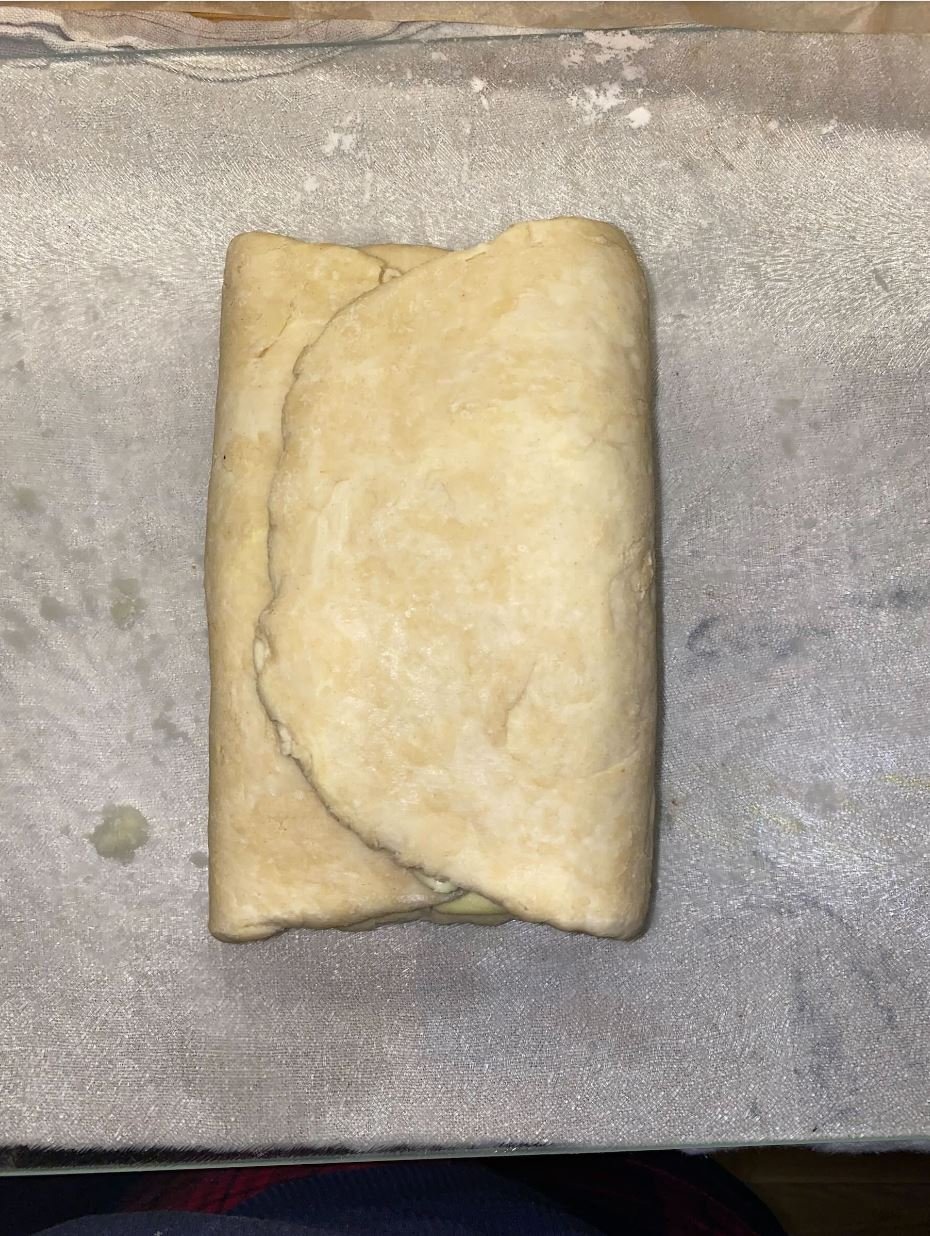
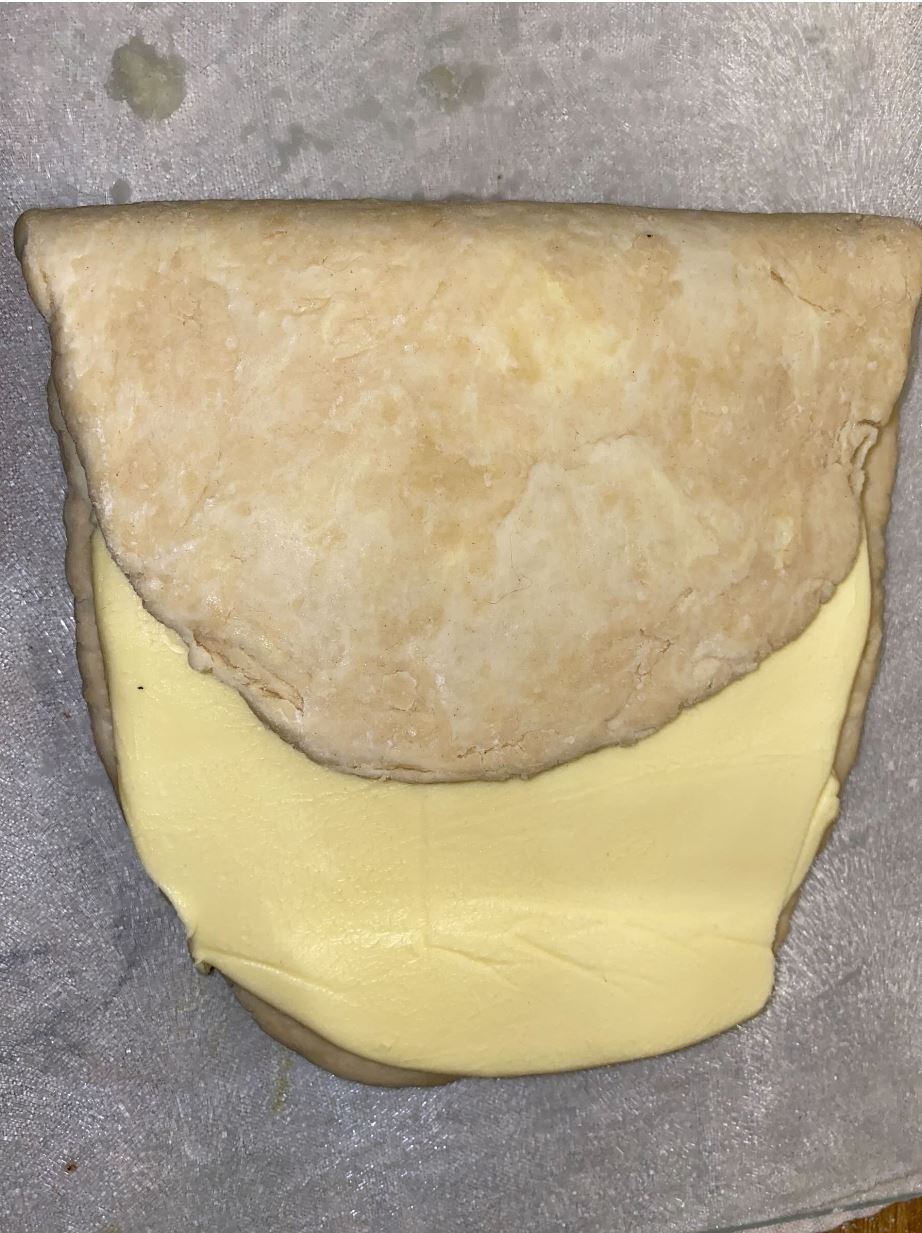
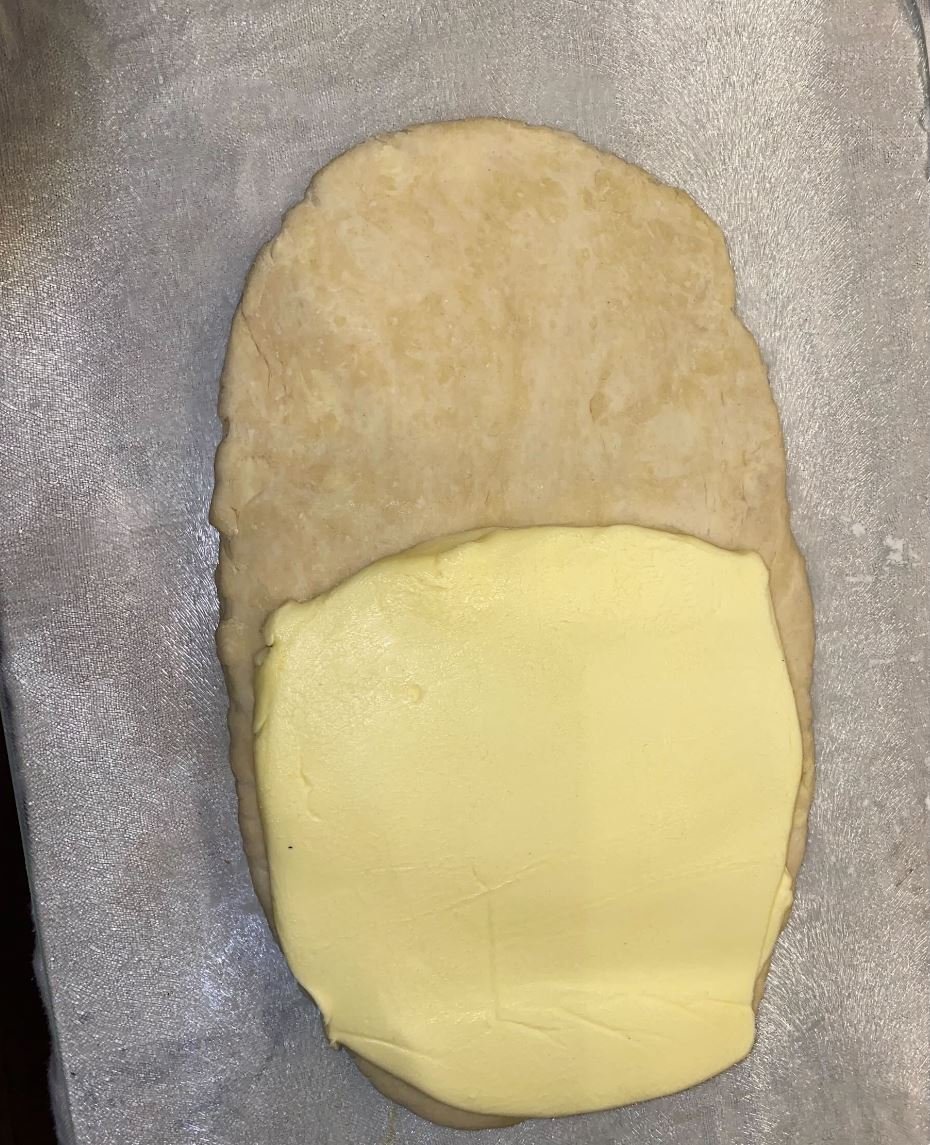
Remove the pastry from the fridge and place the butter on the bottom half of the rectangle. You need to fold the long side in so that the sides are fairly equal in size. Fold down the top third (which has no butter) so it covers some of the butter and fold up the bottom third as if folding a letter. Turn the folded dough so the open seam is now horizontal to you rather than vertical and roll it out into a rectangle again, it will be roughly 2-3cm. Fold down the top third and fold up the bottom third again and roll to 2-3 cm. At this point don’t worry too much if you can see butter, you are going to fold and roll a few more times.
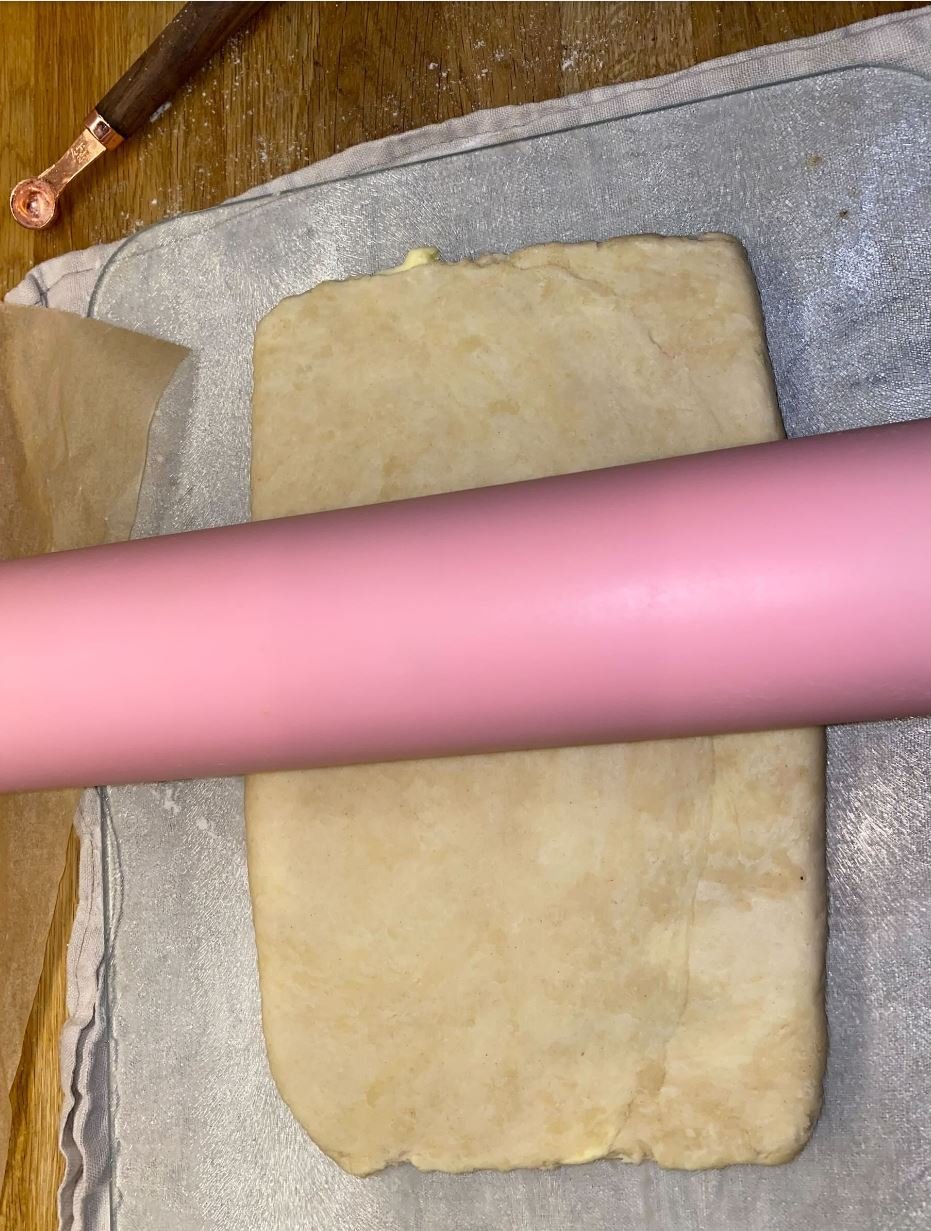
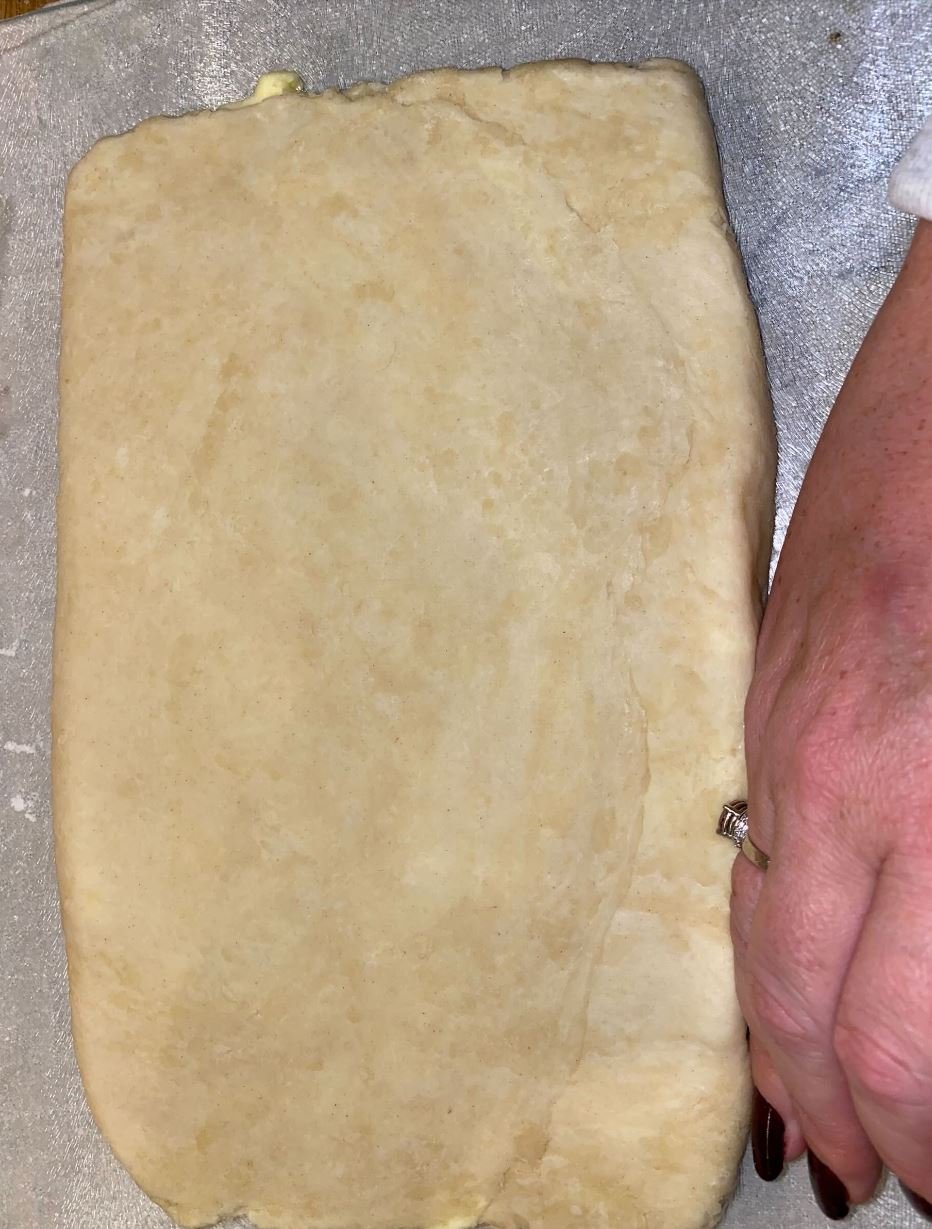
Wrap the dough in cling film and leave to rest in the fridge for at least 20 minutes. Take out the pastry and turn the folded dough so the open seam is now horizontal to you rather than vertical and roll it out into a rectangle again, it will be roughly 1-2cm. Fold down the top third and fold up the bottom third again and roll to 2-3 cm. Repeat this step another 4 times so that the total folds will be 6 and the resting time will be 2 hours.
The pastry will now be ready to use.